HTML Reporter
@rpii/wdio-html-reporter is a 3rd party package, for more information please see GitHub | npm A reporter for webdriver.io which generates a HTML report. This project is a fork of wdio-html-format-reporter That project has not been updated and doesnt work with the latest webdriverio.
This project does. A pull request was submitted to that project, but it appears to be inactive. Due to name conflict issues, this package had to be put in my user namespace. it is now in npm.
Installation
The easiest way is to keep the @rpii/wdio-html-reporter as a devDependency in your package.json:
{
  "devDependencies": {
    "@rpii/wdio-html-reporter": "~0.8.0"
  }
}
Or, you can simply do it with:
yarn add @rpii/wdio-html-reporter --dev
Configuration
The following code shows the default wdio test runner configuration. Just add an HtmlReporter object as another reporter to the reporters array. Syntax shown requires babel:
// wdio.conf.js
import { ReportAggregator, HtmlReporter} from '@rpii/wdio-html-reporter' ;
module.exports = {


  reporters: ['spec',
        [HtmlReporter, {
            debug: true,
            outputDir: './reports/html-reports/',
            filename: 'report.html',
            reportTitle: 'Test Report Title',

            //to show the report in a browser when done
            showInBrowser: true,

            //to turn on screenshots after every test
            useOnAfterCommandForScreenshot: false,

            // to use the template override option, can point to your own file in the test project:
            // templateFilename: path.resolve(__dirname, '../src/wdio-html-reporter-alt-template.hbs'),

            // to add custom template functions for your custom template:
            // templateFuncs: {
            //     addOne: (v) => {
            //         return v+1;
            //     },
            // },

            //to initialize the logger
            LOG: log4j.getLogger("default")
        }
        ]
    ]


};
Configuration Options:
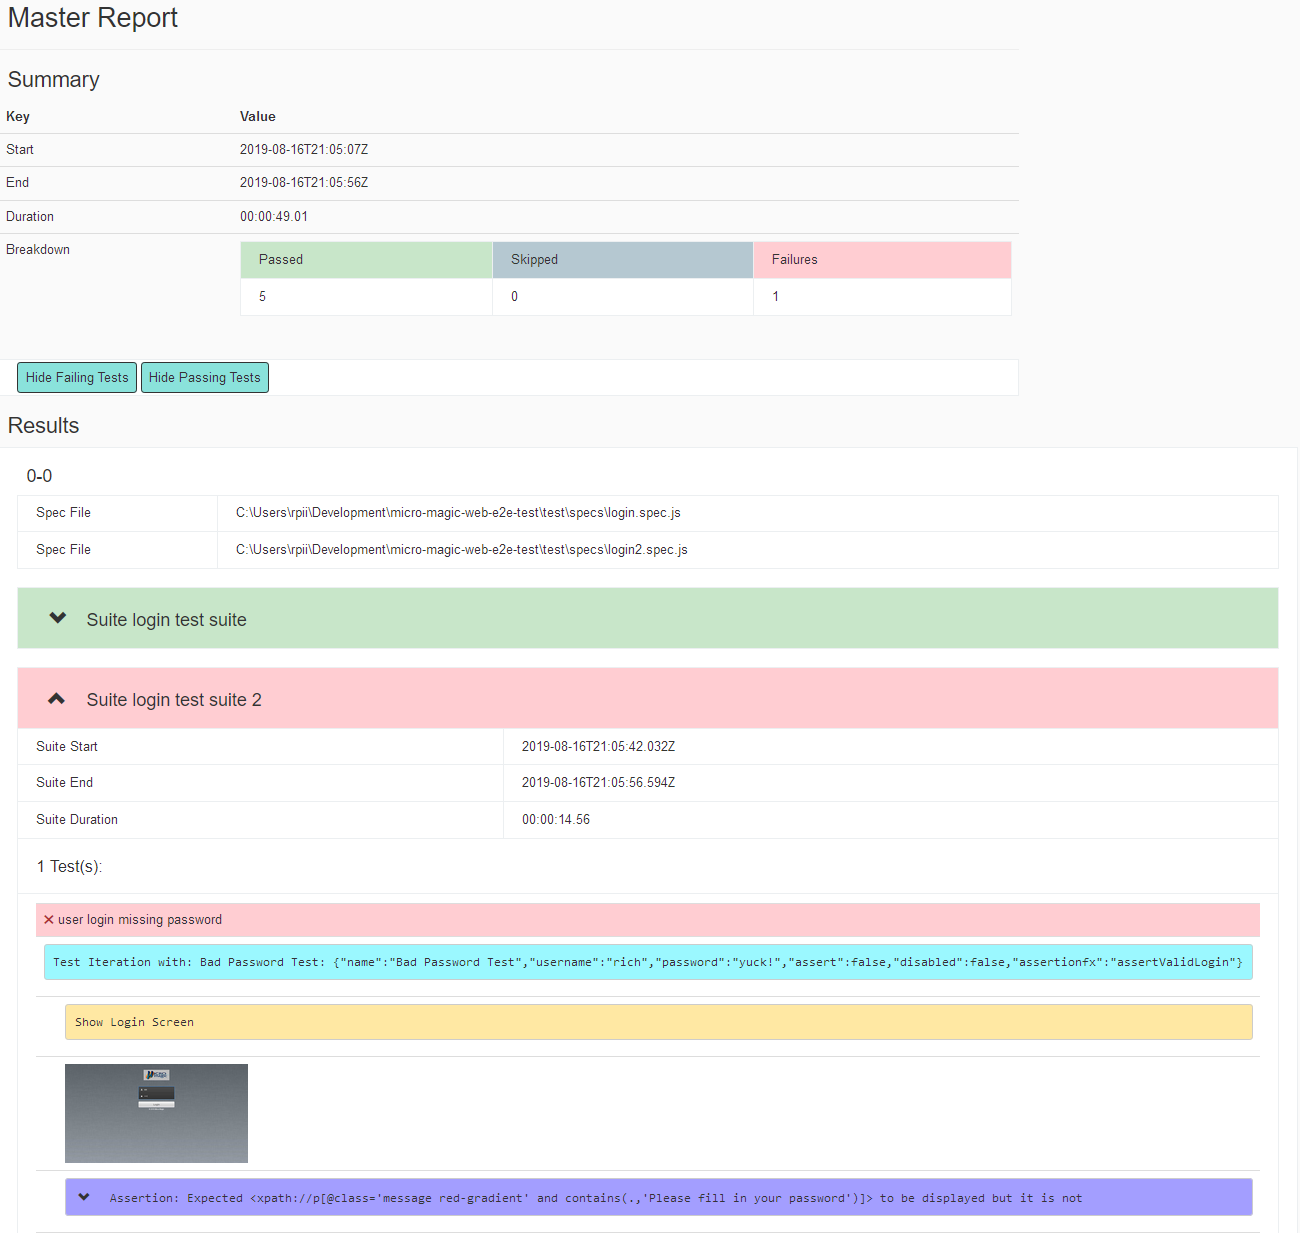
To generate a master report for all suites
webdriver.io will call the reporter for each test suite. It does not aggregate the reports. To do this, add the following event handlers to your wdio.config.js
    onPrepare: function (config, capabilities) {

        let reportAggregator = new ReportAggregator({
            outputDir: './reports/html-reports/',
            filename: 'master-report.html',
            reportTitle: 'Master Report',

            // to use the template override option, can point to your own file in the test project:
            // templateFilename: path.resolve(__dirname, '../src/wdio-html-reporter-alt-template.hbs')
        });
        reportAggregator.clean() ;

        global.reportAggregator = reportAggregator;
    },

    onComplete: function(exitCode, config, capabilities, results) {
        (async () => {
            await global.reportAggregator.createReport( {
                config: config,
                capabilities: capabilities,
                results : results
            });
        })();
    },
To use a logger for debugging
A new feature for developers is to add a log4js logger to see detailed debug output. See the test/reporter.spec.js for configuration options
To use a custom handlebars template for reports
Uncomment the templateFilename above, and in the ReportAggregator. You must provide an absolute path to the file you can modify the alt-template above if you wish The template must support all the constructs in the default template. YOu may add more or just change the formatting and css.
Add Message and Screenshots to the Html Report:
To show messages in the html report
Add the function below to your test code and call it when you want to output a message
    logMessage(message) {
        process.emit('test:log', message);
    }
To take Screenshots:
Add a function that you can call from anywhere in your test:
    takeScreenshot(message) {
        const timestamp = moment().format('YYYYMMDD-HHmmss.SSS');
        fs.ensureDirSync('reports/html-reports/screenshots/');
        const filepath = path.join('reports/html-reports/screenshots/', timestamp + '.png');
        this.browser.saveScreenshot(filepath);
        this.logMessage(message) ;
        process.emit('test:screenshot', filepath);
        return this;
    }
To take a screenshot after any test fails:
wdio.conf.js

    afterTest: function (test) {
        const path = require('path');
        const moment = require('moment');

        // if test passed, ignore, else take and save screenshot.
        if (test.passed) {
            return;
        }
        const timestamp = moment().format('YYYYMMDD-HHmmss.SSS');
        const filepath = path.join('reports/html-reports/screenshots/', timestamp + '.png');
        browser.saveScreenshot(filepath);
        process.emit('test:screenshot', filepath);
    },
To take a screenshot after each test completes:
Set the option useOnAfterCommandForScreenshot to true
This option is used if you are not using either of the screenshot options above.
Sample Output:
